Export
Introduction
MotionBuilder does not handle model deformation very well (or at least not easily); whereas Maya does. Therefore it is simpler to export only the animation from MotionBuilder rather than the entire model. Maya is not very good for correcting animation, so at this stage you should have corrected it as much as possible.
Exporting from MotionBuilder
At this stage, it is assumed that you have followed the previous steps and applied your animation to your rig - this will have retargetted the animation according to the size of your rig.
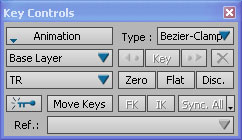
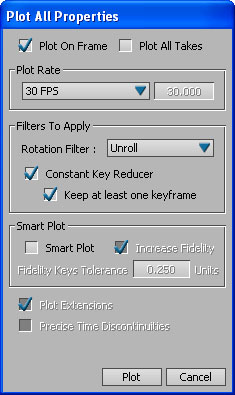
Step 1: Plot the Animation - Under Key Controls -> Animation (LMB) --> Plot All (All Properties); this will bring up the "Plot All Properties" window
Step 2: Check Options - Make sure that "Plot on Frame", "Plot All Takes" are checked to make sure you have taken account all takes; press "Plot"
Step 3: Exporting the Animation - We cannot save the file directly as FBX, we need to export it; File -> Export, and under the "Save as type" select "Kaydara (animation only) (*.fbx); give you file a name and press "Save"
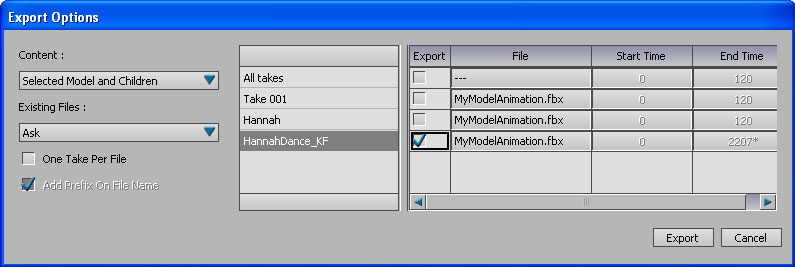
Step 4: Save Options - It is simpler to save only the take that has data (even though the others shouldn't influence the export - we can see the take with the data as it is the only one not set to "120" - uncheck all others - then press "Export"
Importing into Maya
Importing into Maya should be fairly simple; we need to make sure we have our original character, and then we need to import the animation and apply it to the rig.
Step 1: Load Original Character - Load into Maya your original character (stored in your Maya Binary file *.mb) - if you have more than one character, deal with each character separately, otherwise it might make things complicated
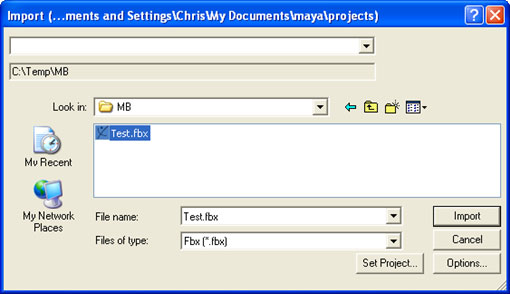
Step 2: Importing the Animation - The animation needs to be imported through Maya import; go to File -> Import and find the file you exported from MotionBuilder in the previous section, and import it.
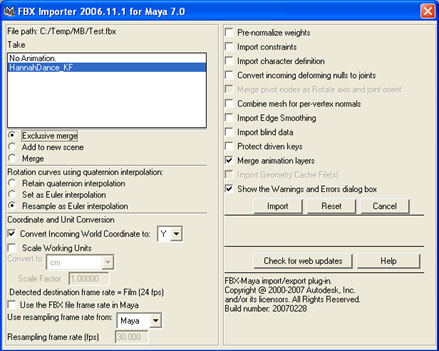
Step 3: Setting Import Options - As there is only animation, most check boxes can be switched off, the one we do need is "Exclusive Merge"
