Step-by-Step
Import into Maya (pre 2010)
Introduction
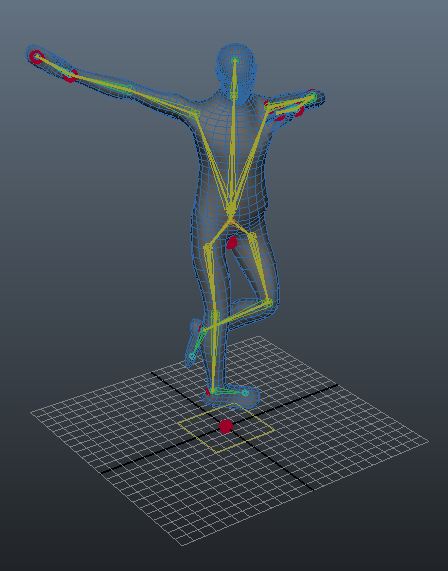
Once we have the FBX file that was exported from Blade, we should have enough information to apply the animation to any animated character - the only issue we have is that we need to setup the character in a way that allows us to "retarget" the motion capture animation onto that character
In order that we can apply animation to a character in Maya, we need to properly label the character; once you have setup the rig for a character, bound the rig to the mesh, made sure the bind weights are properly set, an animation (even IK animation) can be applied to the skeleton. For Motion Capture we need to retarget, this is because the skeleton animation from the motion capture is proportioned differently to the character - rather than resize the character, we simply retarget. The retargetting relies on appropriately labelled joints; in Maya this is performed through standardised labelling - if the labels from the source match the labels from the target, then the animation is simply retargetted appropriately. The steps are as follows:
- Setup Character (Label Joints)
- Import Animation
- Orietate the Skeletons
- Label Imported Skeleton
- Set Neutral Pose
- Retarget Animation
Character Setup
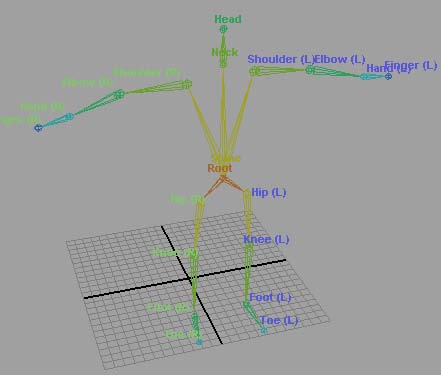
The first step is to label each joint accordingly; Maya labels the joint based on the Joint/Socket of the bone, rather than the bone. Therefore a leg becomes a Hip (because that's the joint), etc.
- Open Maya
- Load in your Character (that has been rigged, bound, and weighted properly)
- Open the Outliner
- Under the view, it might be easier see everything by selecting "Shade All" and "X-Ray Joints"
- Switch to the Animation Mode
- Select the Character, then under the Menu → Skeleton → Joint Labels → Show All Labels
- (Optional) If the Joints are already named properly then under the Menu → Skeleton → Joint Labels → Label Based on Joint Names
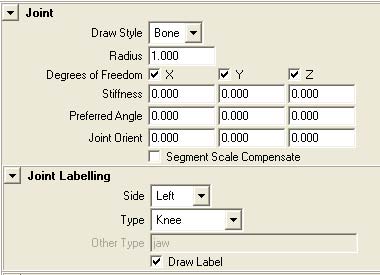
- Go through the rest of the joints and label them according to side (Left, Center, Right) and joint name (Hips, Knee, etc) until all joints are labelled
- (Optional) If the attributes for the Joints are not shown, select the Joint and click the Attributes button, then select the Joint Transform tab
Import Animation
Next we need to import the animation from the FBX file
- Under the Menu → File → Import
- Find the FBX file, and click Import
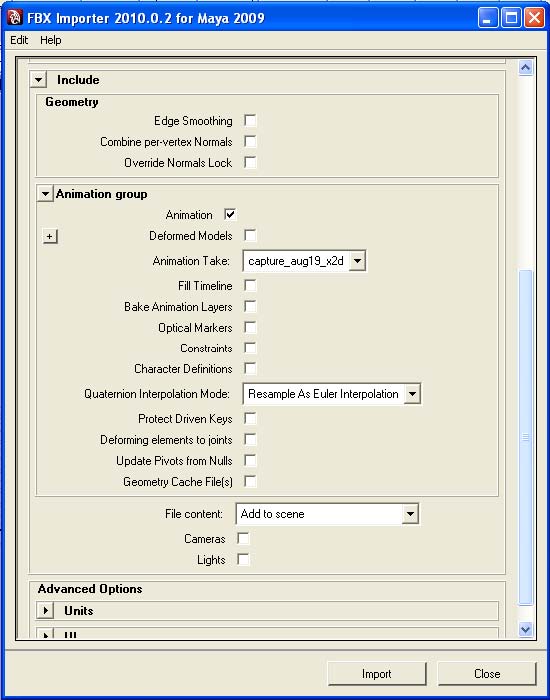
- The Importer should give you various options; you do not need anything but the Animation selected
- Check that the File Content is set to Add to scene
- Press Import
- Once the skeleton has imported, check that the animation is correct - at this point it should be
- Finally, make sure the skeletons are facing the same direction, if not select the root node of the important skeleton and rotate it to match
Clean Up Imported Data
Next we need to clean up the imported data and orientate the skeleton
- Go to the Outliner and select all the "Locators", these are the optical markers, and press the Delete key on the keyboard
- Make sure the two skeletons are facing down the same axis; if they are not, you only need to rotate one of them to face down the same axis as the other (by selecting the root node and rotating)
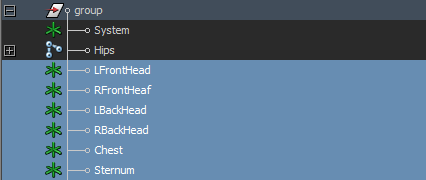
Label Imported Skeleton
Here we need to follow the steps outlined in the Character Setup section, but applied to the imported skeleton
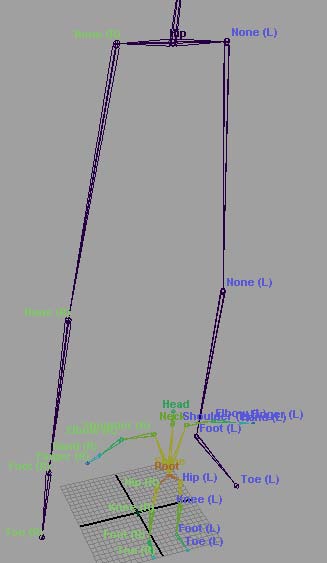
Retarget Animation
The final stage is to set the neutral pose and retarget the animation
- Make sure you are in the T-Pose position for both skeletons, by shifting the time slider to the first frame
- Shift-Select the Root Node/Joint of the Imported Skeleton, and then Shift-Select the Root Node/Joint of the Target Character
- Under Menu → Skeleton → Retargetting select Set Neutral Pose
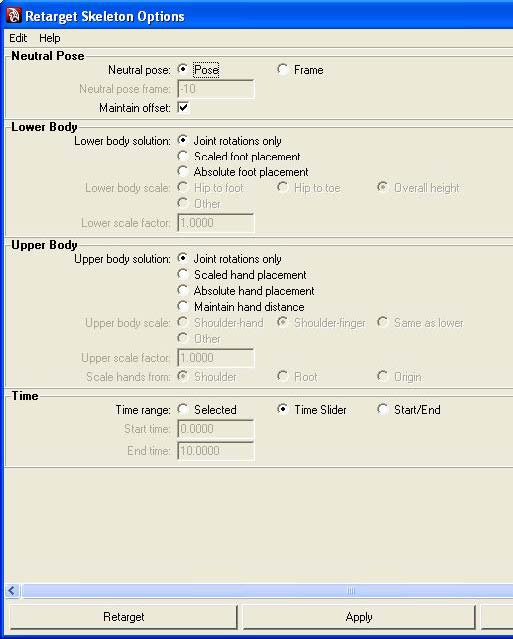
- Under Menu → Skeleton → Retargetting select Retarget Skeleton (options)
- Verify Neutral Pose is set to Pose
- Verify Lower Body Solution is set to Joint Rotations Only
- Verify Upper Body Solution is set to Joint Rotations Only
- Verify Time is set to Time Slider
- Press Retarget
Warning: If an error occurs at this point, it is probably because the user did not select the root joints correctly, make sure they are selected (and not any other joint)
Viewing Animation
Now you should see that by playing the animation the character moves with the imported animation correctly; you can delete the imported skeleton at this point, or simply select the root joint of the imported skeleton and select Menu → Display → Hide → Hide Selection
