Step-by-Step
Markers
Putting on the Suit
First the capture subject needs to put on the suit; it is important that the suit fits well - in general as tight as it can be comfortable. The use of velcro strips will help to keep the upper and lower parts of the suit fitting well.
Putting on the Markers
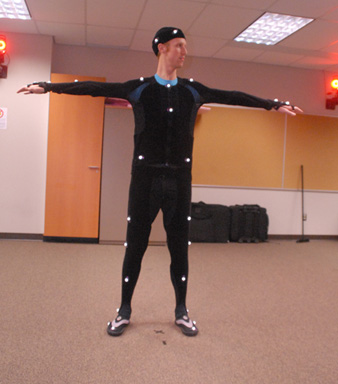
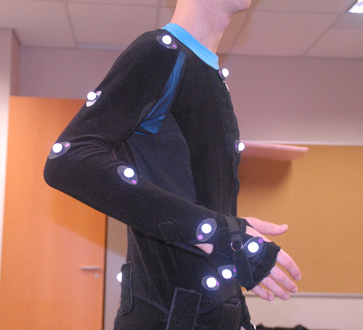
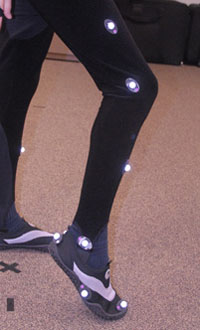
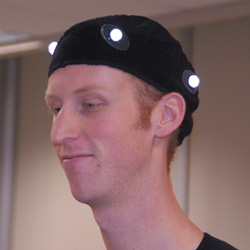
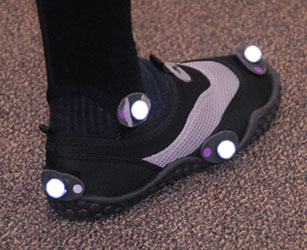
Next, we need to add the markers to the suit. There are 45 markers for the general template we use (ViconFullBodyTraining.vst). The markers correspond to this specific template and are applied to areas of the body that are either on a rigid section (i.e. a bone), or on a rotation point (i.e. directly on a joint).
Note: The marker placement corresponds to the skeleton template - if we change the template, we need to change the marker placement
We typically use ViconFullBodyTraining.vst (vst = Vicon Skeleton Template) and the marker placement is shown below
 |
 |
 |
 |
 |
 |
Tip: For Markers that are placed on joints, they should rotate not translate+rotate when the joint is rotated (i.e. it should be at the centre of rotation).
For Markers that are placed on bones, they should be placed at the mid-point - this spreads markers out so that they are less likely to occlude.
As the markers for bones need to be on the bone, the ideal position is where they will be most exposed to the cameras (generally on top) - if markers are going to line up in a normal relaxed posture, we can slightly offset the markers in order to avoid this; this is shown below:
Note: It is important that the subject keeps the suit on for the entire duration of the capture session. If the suit is removed, even if the markers are placed the same, the capture may not work, or work well